Create Free (yes really!) Landing Pages in 20 Minutes
The first step to launching a lot of businesses is to pre-validate through getting sign-ups: create a landing page and start driving ads to it, and see if you can people to drop their email address.
This is the approach mentioned in The Lean Startup by Eric Ries, Pat Flynn’s “Will it Fly?” and many other similar guide books to launching a startup.
But creating a landing page usually involves some expense: getting someone to build it, or even just paying for hosting.
So I have good news: I figured out a way of easily building free landing pages and hosting them for free.
A Paid Alternative — Carrd
Most landing page services are way too expensive for a service that’s supposed to be very simple, and mostly about testing a new business idea.
You do definitely have to spend money at some point. You have to drive ads to your site! But when you look at the pricing pages you think… which platform do I use? Will I regret it?
| Landing page builder | Monthly pricing |
|---|---|
| Unbounce | $145 |
| Lander | $49 |
| LeadPages | $37 |
| ConvertKit | $9 |
| Carrd | $9 / year |
Carrd is the only stand-out here — it’s $9 per year.
It’s also very easy to use. I use it. And so I’d recommend it, if you want something less technical than the solution below.
What You Need from a Landing Page
There are a few things you need.
- Easy customisability of copy. You have to be able to edit the words easily and publish it live.
- Ability to collect information (emails). This means it should support forms.
- Support for domains. This eliminates the free tier of many landing page providers. The main reason you need a domain: trustworthiness. If someone sees a link for a business and it’s on a Geocities site, they’re much less likely to sign up.
All of these make Carrd an attractive contender, and I generally do recommend it.
But you can also host a landing page for free, and get an education in HTML while you’re at it.
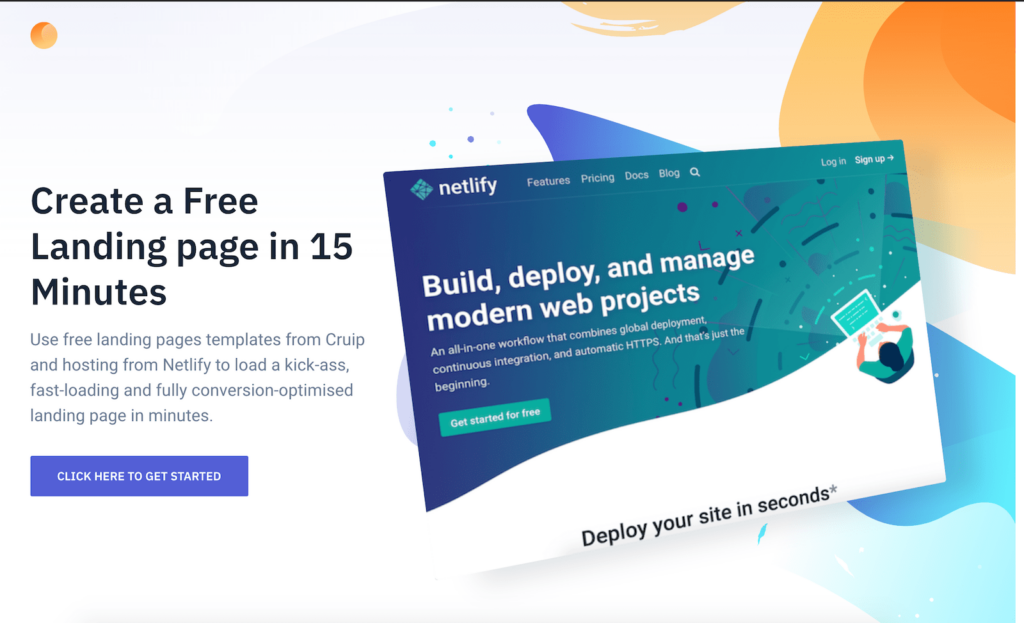
How to host a Landing Page for Free with CRUIP and Netlify
You get the HTML from Cruip. You modify it on your computer. You upload it to Netlify. Bam, your site is live!
Here are the basic steps:
1. Get the HTML for a landing page.
You can find it on https://cruip.com/. There’s free HTML in there for responsive, well-designed landing pages. Unzip it into a folder. Fire up the index.html file and it’ll load up in your browser!
Bonus step: Go onto IndieHackers and thank the founders for their work!
2. Download a code editor.
This is a code editor you’ll use to modify the code. I use Visual Studio Code these days. It’s a Microsot product that’s free.
It’s helpful to install an extension that gives you a live preview of html that you’re editing.
You can also click around on the web page and see what bits you need to modify.
3. Open up the index.html file from your downloaded template and go into live preview mode.
Go into live preview mode from the file menu.
This works better if you have an external monitor to your laptop. But this way, you can see live updates!
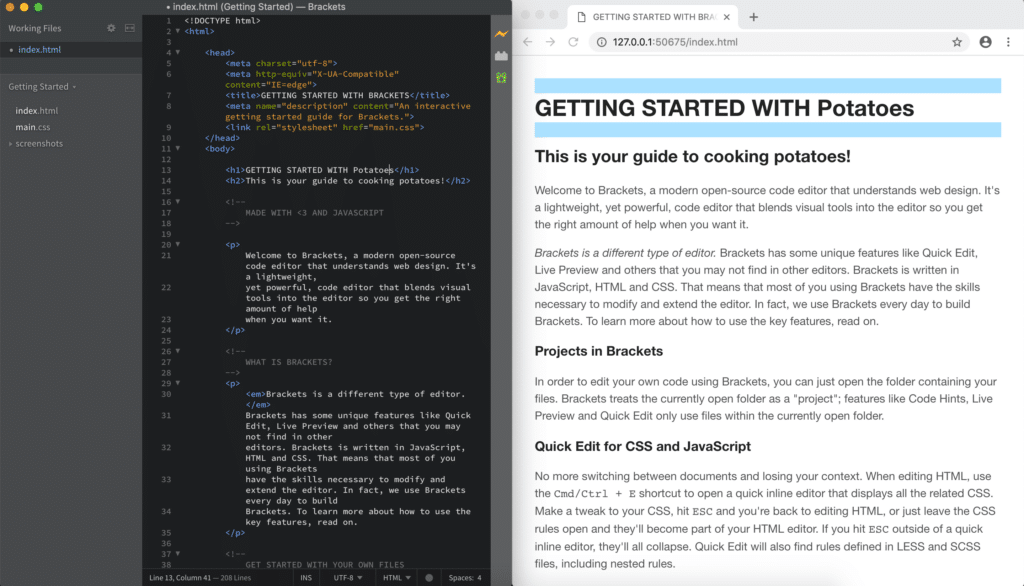
The best part about live preview is how you can click on any part of the web page and it takes you to the relevant section in the HTML to copy. You get to see how the page is built in real time!
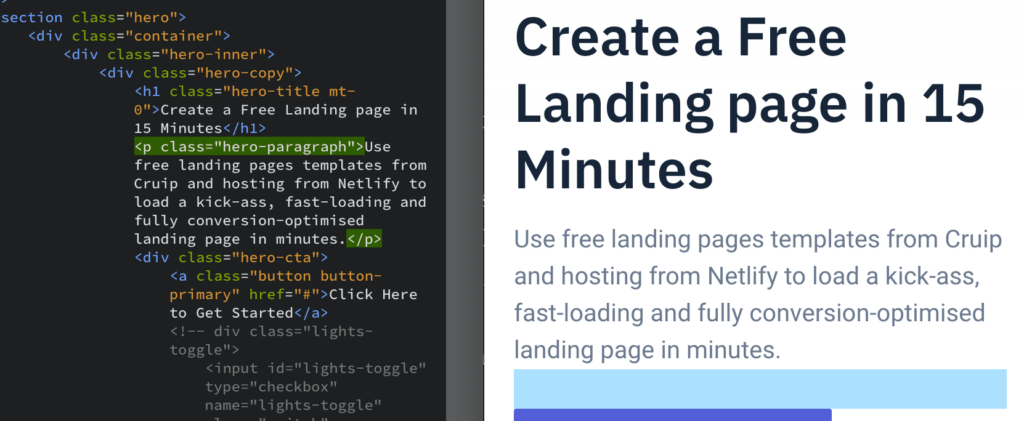
4. Save the file once you’re done.
Hit “save”. Need a screenshot? I don’t think so. You got this.
5. Open up an account on Netlify.
This is a place where you can host your landing page for free, with a subdomain like blahblah.netlify.app.
You can even add your own domain for free. You have to buy it, of course.
6. Drag the folder of files with your landing page into Netlify.
It just publishes it. Bam! Your web page is available via Netlify’s amazing CDN globally, with HTTPS and everything! It’s ridiculous.
Here’s the page published: https://hooshmandnettestpage.netlify.com/
