Ghost Blog: Different Hero Image to Feature Image (with Invisible Tags)
It’s a great practise to use a “feature image” on your blog posts. It means when people share your posts on social media or via chat, they get a preview image.
But sometimes your theme uses the same feature image as the hero image at the top of your post, and you want to use a different hero image, in a different place. Here’s how.

How to have a Different Hero Image in Ghost — In a Nutshell
This is what you do, in a nutshell.
- Customise your
post.hbsso when there’s a#nofeaturetag in Ghost, it doesn’t show the feature image. This is a “hidden tag”. - Then, use the hidden tag
#nofeaturein every post where you don’t want to show a feature image. - Make sure you still use images, for readability and for SEO
Read on for more detail!
Why hide the feature image in Ghost?
The feature image is great for sharing. But in many themes, it’s shown at the top of the post. This isn’t necessarily the way you want to start your article.
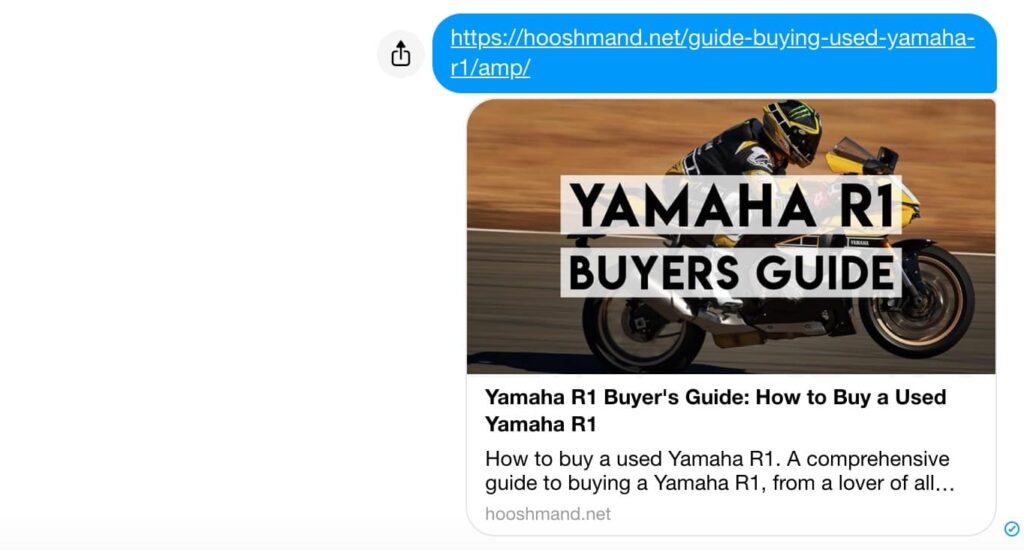
For example, take my post on the Yamaha R1. When I share it via chat, it looks like this:

That’s because I set the feature image to be that picture, with text, so it quickly tells the reader what it’s about.
But I don’t want the text cluttering up the top of the post. I want people to be able to dive into the content. If there’s an image, I want it to be relevant to the content.
In Casper, and many themes, the feature image is used at the top of the post. So I have to remove it from the top of the post to get control back, and put my own image there, with no text.
This is what the post looks like with the feature image removed:

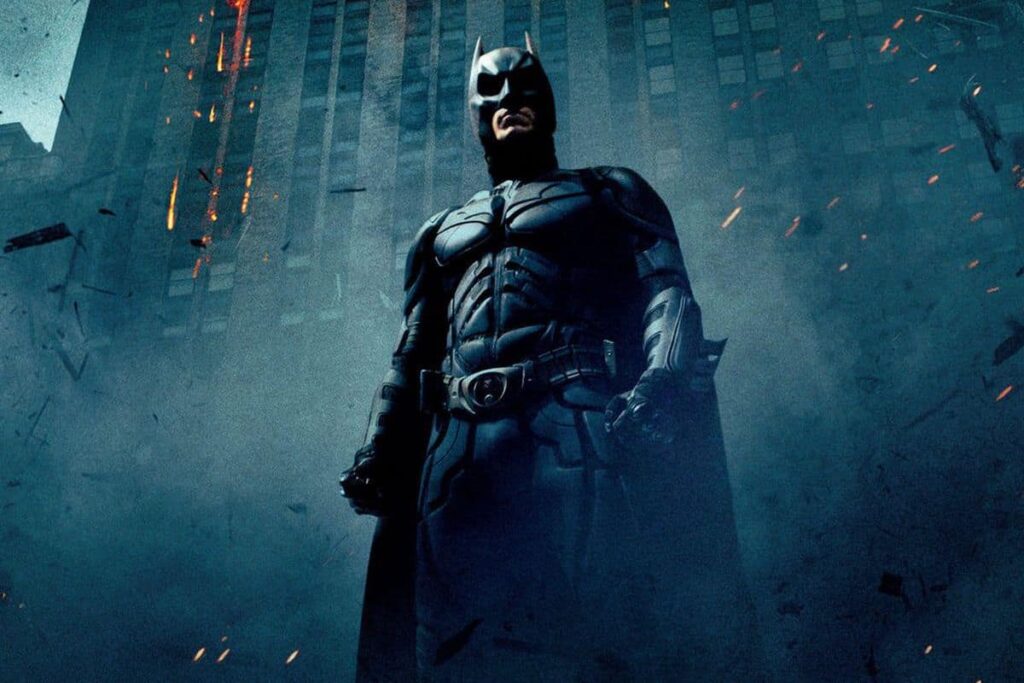
As you can see, I can put my leader paragraph above the first image, have a different image for the feature image (without the text overlay on top of it), and opt to not have the image full-width.
How do you do this? Invisible tags.
How invisible tags work
In Ghost, tags are used to help you categorise posts. It helps themes find related posts, and this helps users browse a series of related ideas.
You can set one or more tags manually every time you create a post.
An invisible tag is a tag that is attributed to the post, but doesn’t show up in navigation anywhere. You add it by putting a hashtag (“pound sign”, “#”) in front of the tag name.
For this purpose, I use an invisible tag called #nofeature.

How to use invisible tags in Ghost to change the feature image layout
You need to log in to your Ghost server (hosted on DigitalOcean or whatever else) and modify theme files.
Note: The recommended way to modify theme files is to make a complete, working theme on your desktop, then zip it and upload it to your server.
First, edit your post.hbs file.
You have to make one modification. Find the section that places a feature image at the top of the post. You’ll write a piece of code saying: “if a certain invisible tag is present, then you don’t show the feature image.”
I called this invisible tag #nofeature, as I mentioned above.
{{^has tag="#nofeature"}}
  {{#if feature_image}}
   <!-- code placing the feature image at the top -->
{{/if}}{{/has}}
The second thing you do is simply start using the invisible tag #nofeature in posts.
Other tips
The feature image serves a couple of different purposes in a post, other than a social media share image. Without it, make sure you’re meeting those purposes in another way.
- Help the reader visualise the post’s content: You often should still use an image to help the reader visualise what you’re explaining. If it’s an article about how awesome a motorcycle is, then show a picture of the motorcycle, by all means.
- SEO: Having a well-optimised image helps SEO indirectly in a number of ways (keeping readers engaged), but one way they concretely do is through descriptions and alt text. In your alternate image, make sure you have a description and alt-text that not only describes your image, but describes your post, to capture that SEO juice.


